In the previous step, a compressed (zip) file has been imported through the import wizard in the Content chapter of Marigold Engage, containing an HTML file and images, to create a new email template.
Now we're going to personalize the content of this template.
This can be done in two modes :
Note : At the top, you can toggle between Source and Design mode.
Source mode :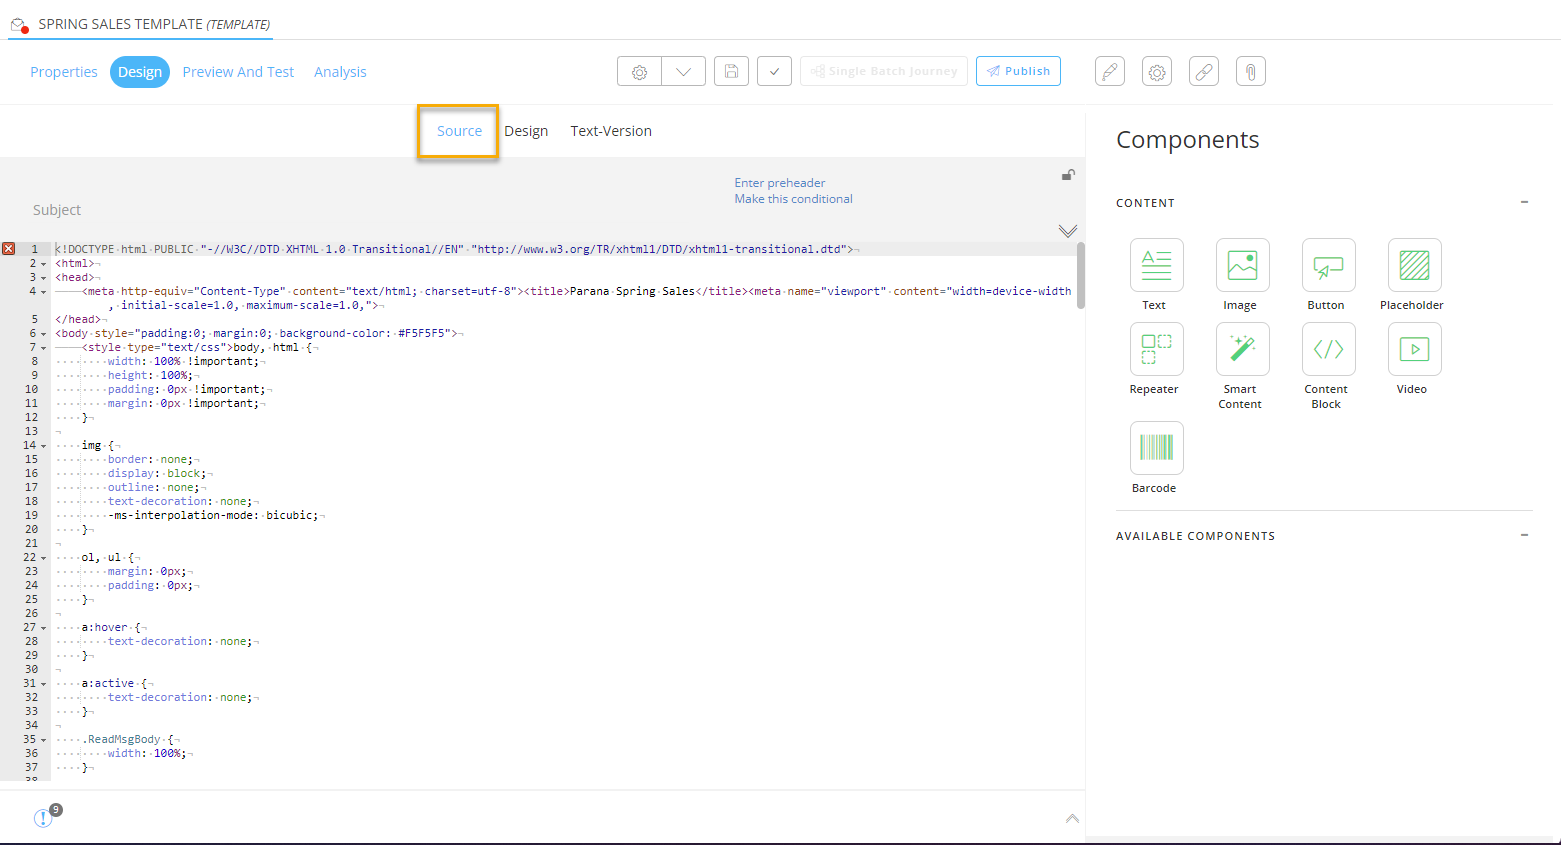
Design mode :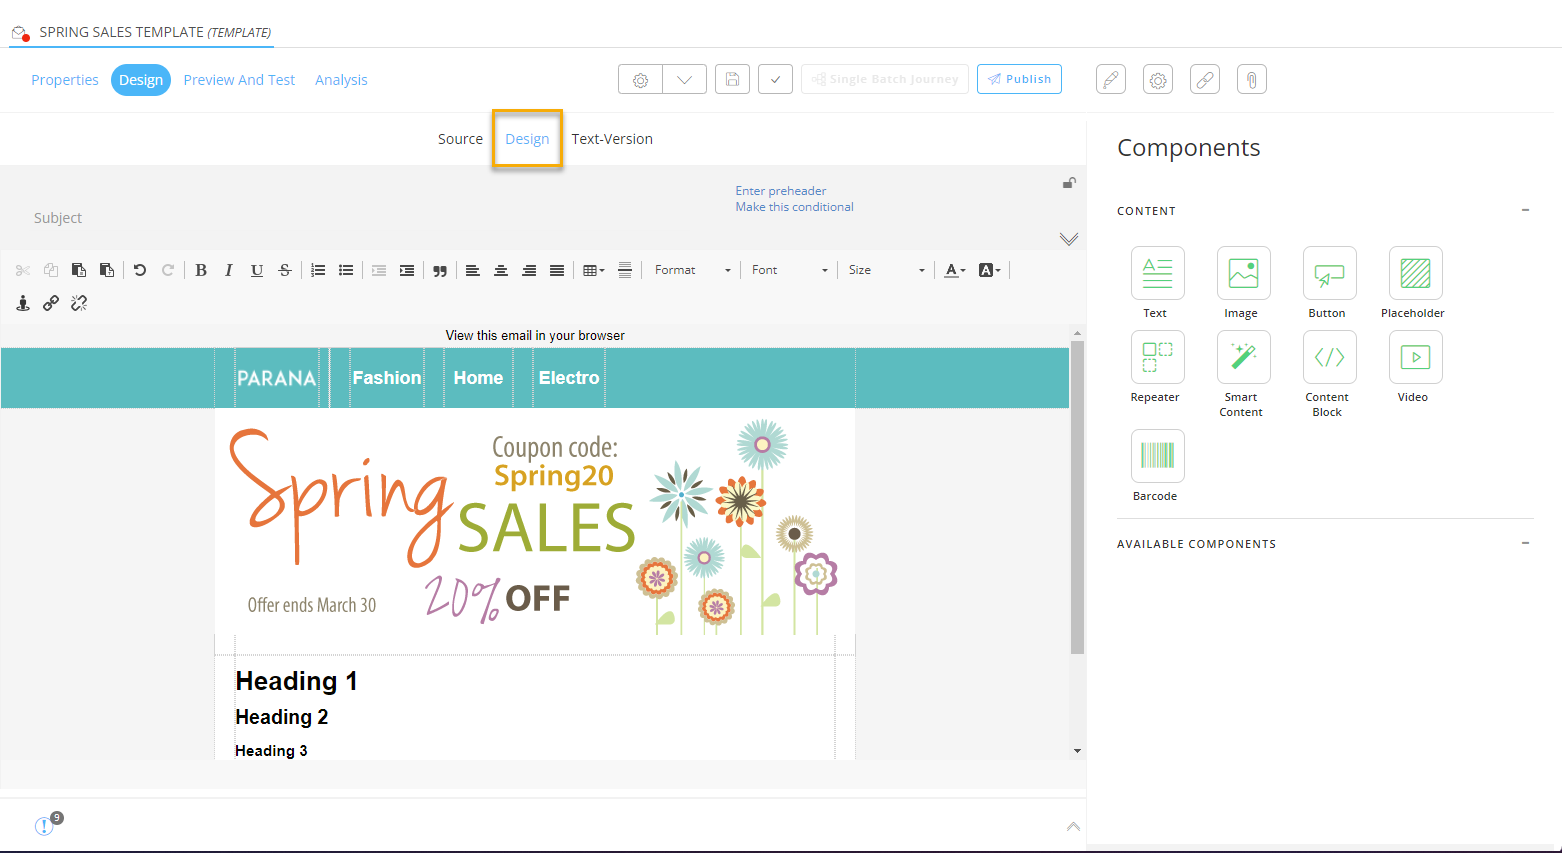
Personalize content in Design mode
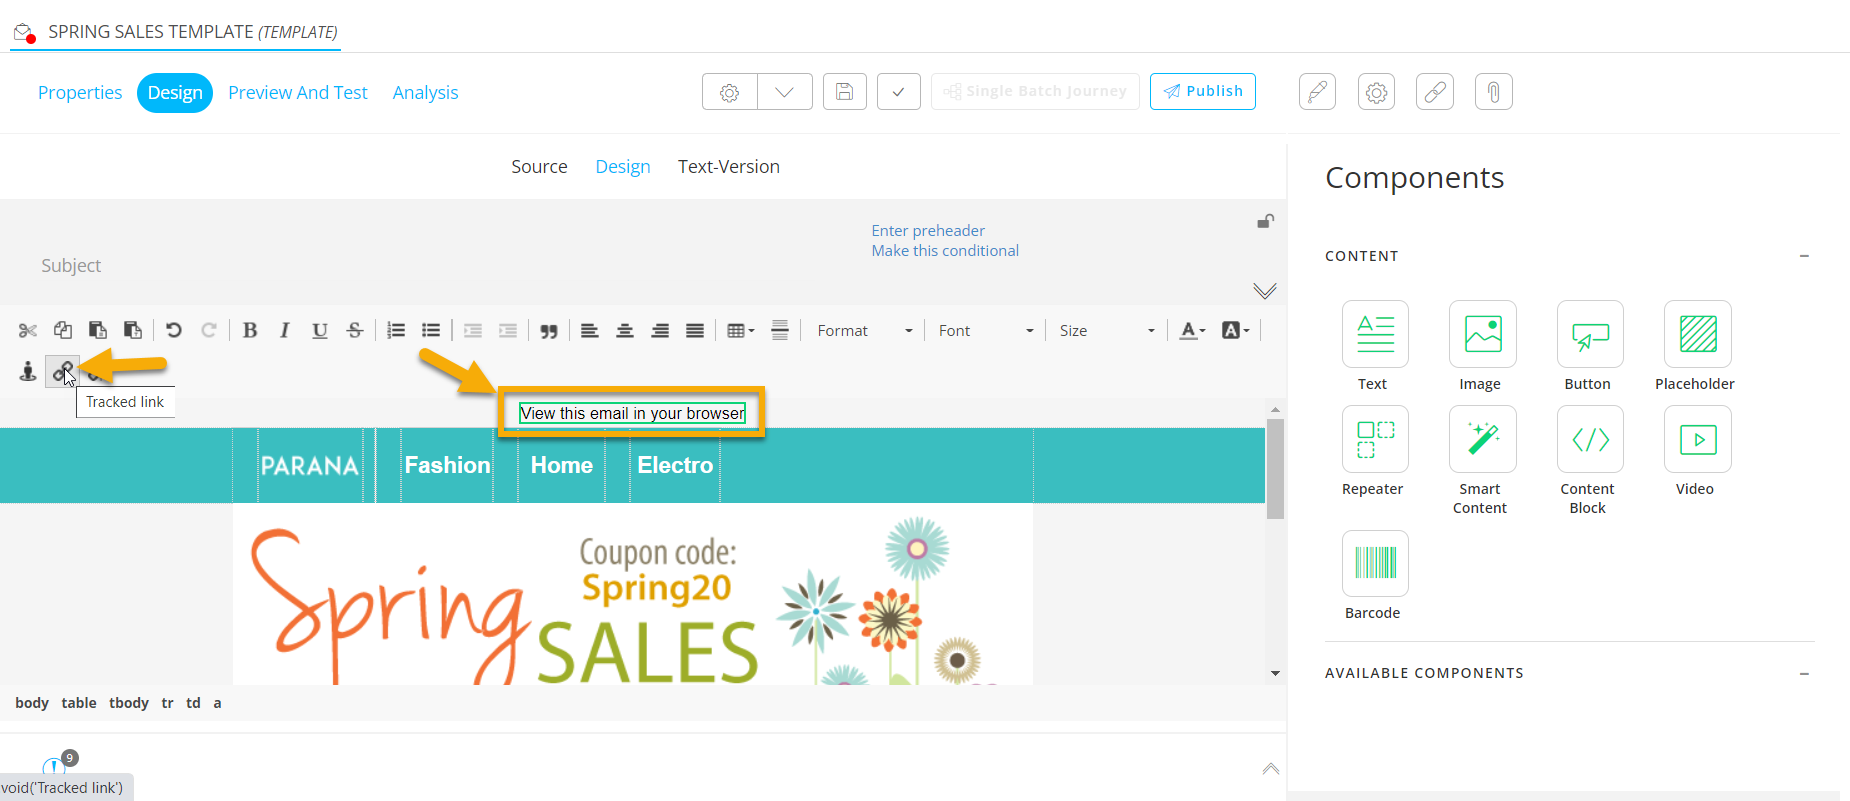
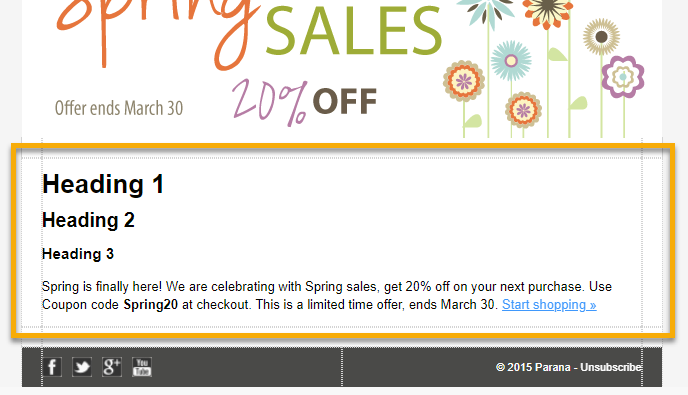
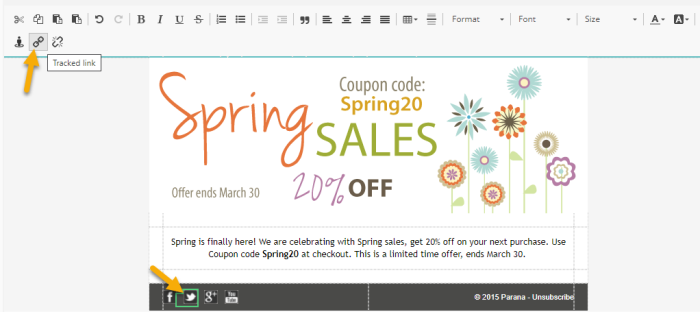
After the import, the template looks like this in Design mode :
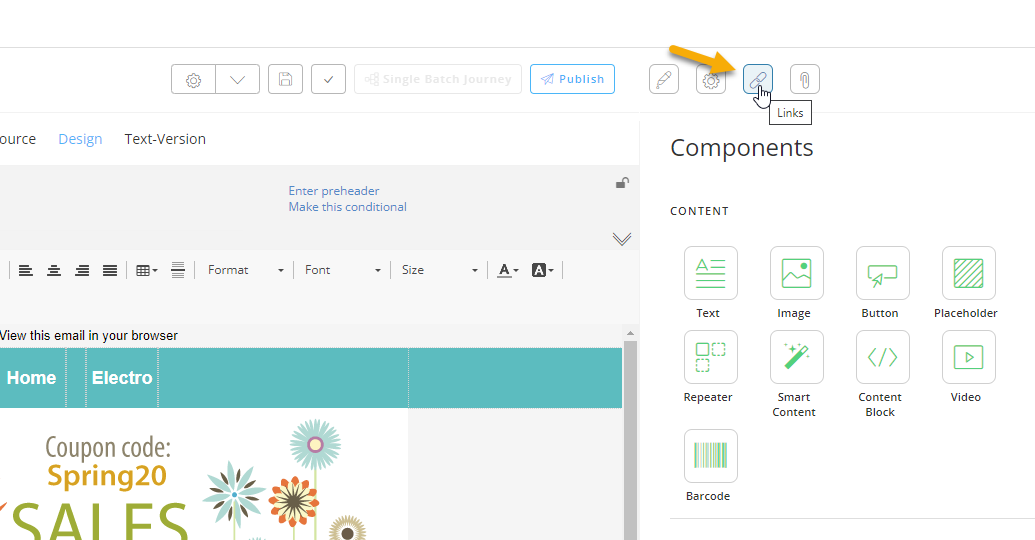
Click the Links icon at the top-right :
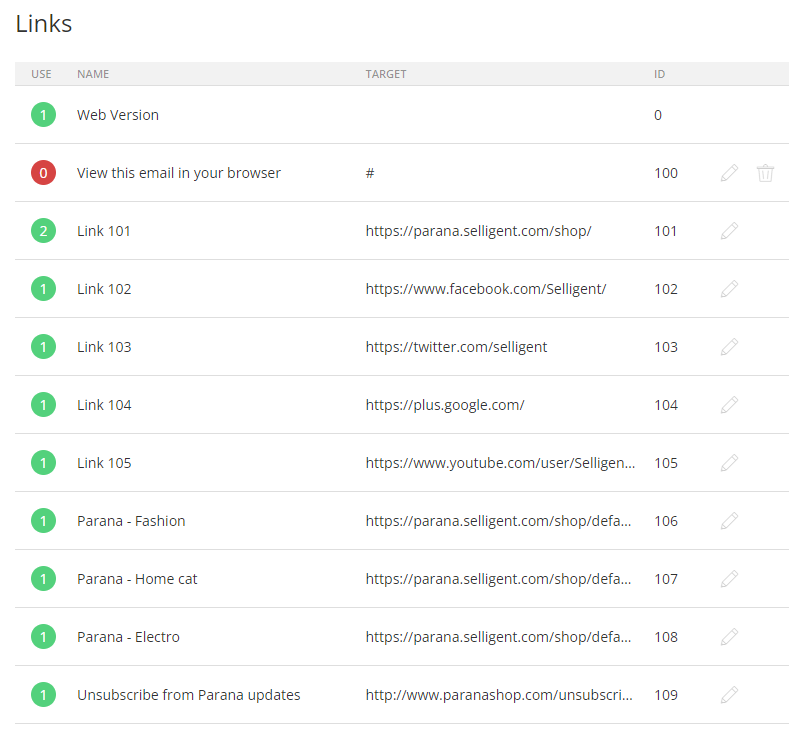
You'll notice that the following links are already available (They were imported within the HTML file) :
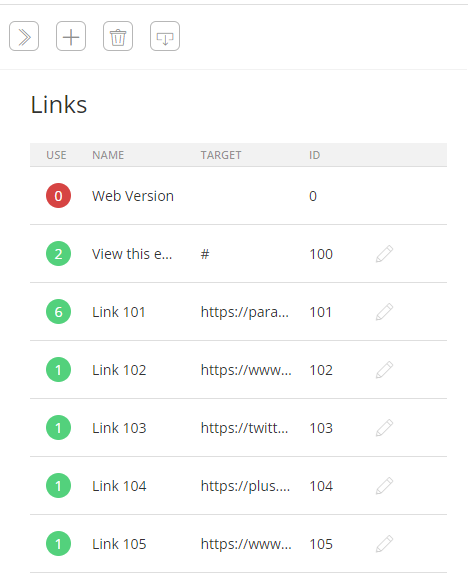
- Web Version — Not used at the moment (red circle with value 0) — but we'll change that.
- View this email in your browser — The text to view the web version of the email, used twice (green circle with value 2). We'll change the destination of the top text, so it will be linked to the 'Web Version' link above instead.
- Link 101 — This leads to the Parana Shop's home page. We want at least that both the PARANA top navigation text as the image in the body are linked to the shop's home page.
- Link 102 — Parana Facebook link; for the Facebook social icon in the footer of the email template.
- Link 103 — Parana 'X' (formerly Twitter) link; for the 'X' (formerly Twitter) social icon in the footer of the email template.
- Link 104 — Parana Google Plus link; for the Google Plus social icon in the footer of the email template.
- Link 105 — Parana Youtube link; for the Youtube social icon in the footer of the email template.
Note: The Parana web shop is a fictional web store to replicate use cases.
You can apply the same way of working to link to another website.
Let's go over the following items, and see if each one of them meets our requirements :
- Web version link
- Top navigation items (Parana, Fashion, Home, Electro)
- Image link to start shopping
- Body text content and styling ("Spring is finally here!...")
- Social media icons in the footer (Facebook, 'X' (formerly Twitter), etc.)
- Unsubscribe link
Web version link
Let us change the text on top of the email template, so it'll link to the default Web Version link (ID = 0).
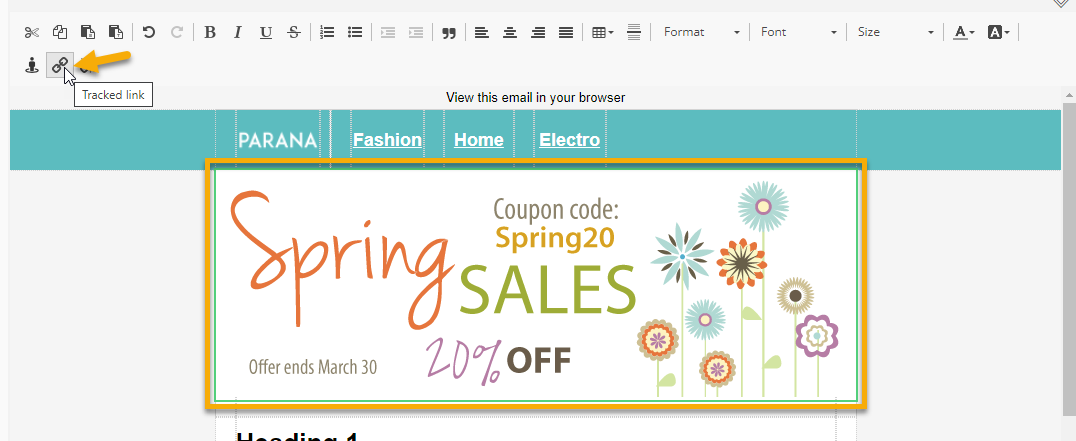
Select the 'View this email in your browser' text, and click on the 'Tracked link' icon.
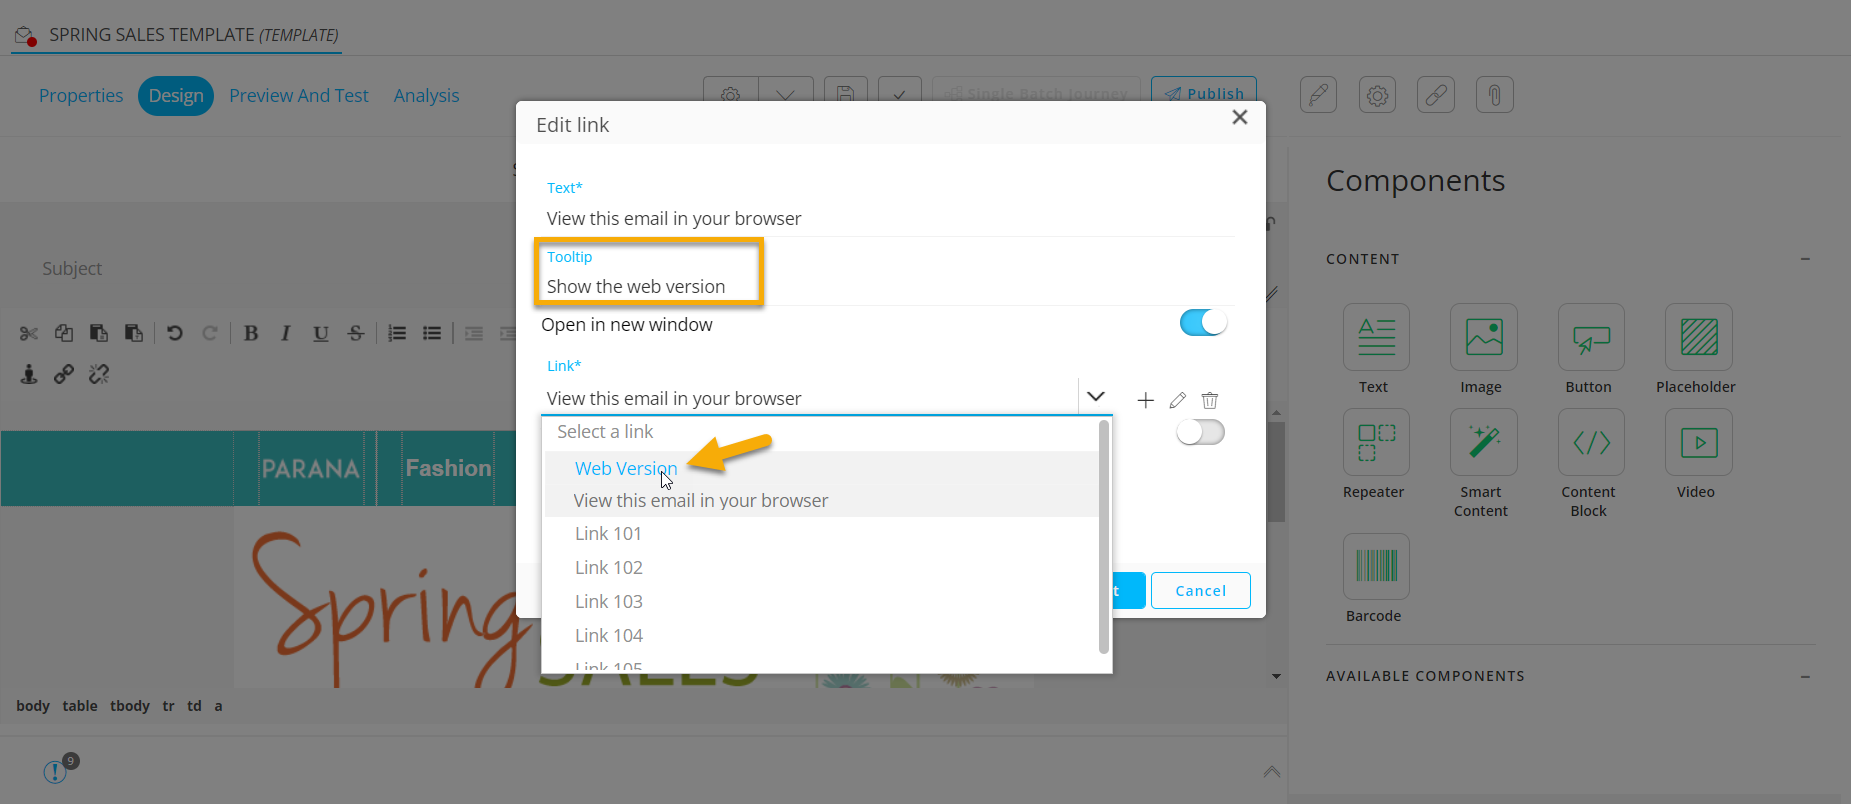
In the pop-up that appears, add tooltip text and change the link to 'Web Version'.
Click on the Insert button at the bottom to apply your changes.
This text now links to the web version.
Top navigation items
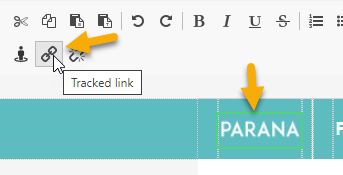
Click on the Parana item in the top navigation, and validate that the correct link is already applied.
Link 101 is the correct one for the Parana web shop home page, as mentioned here.
Now create new links for each other top navigation item (to link them to the fictional Parana web shop) :
- Fashion — Link to the 'Fashion' section on the Parana web shop.
For example https://parana.selligent.com/shop/default.aspx?CATIDL3=25 - Home — Link to the 'Home' section on the Parana web shop.
For example https://parana.selligent.com/shop/default.aspx?CATIDL3=48 - Electro — Link to the 'Electro' section on the Parana web shop.
For example https://parana.selligent.com/shop/default.aspx?CATIDL3=5
Example :
- Select the Fashion text and click on the 'Tracked link' icon :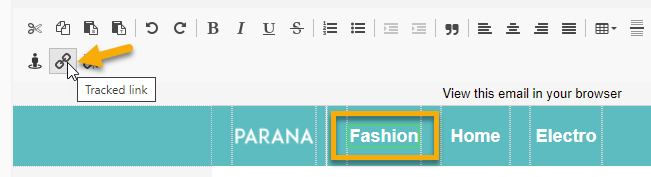
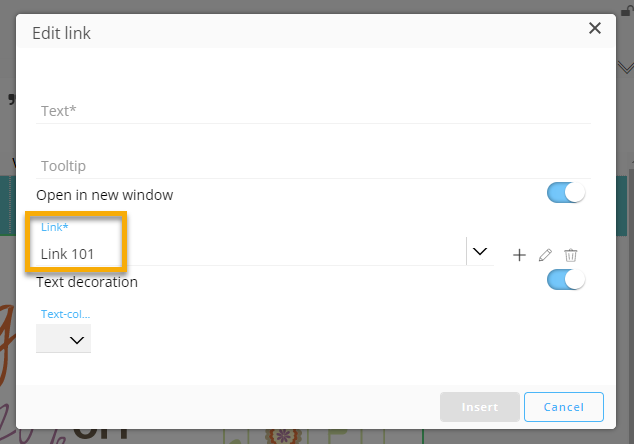
- In the pop-up, click on '+' to add a new link :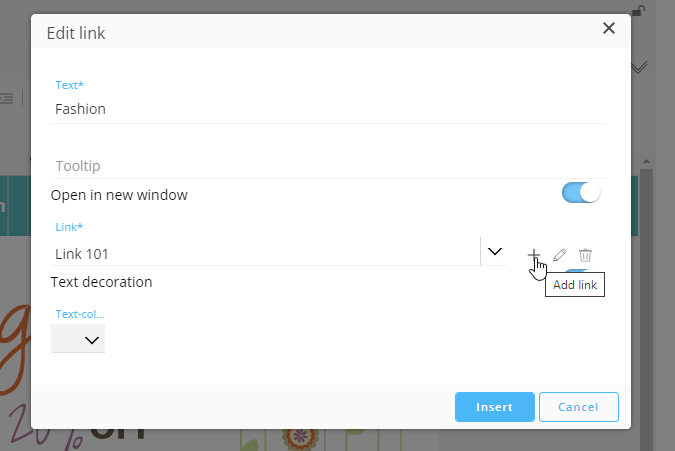
- Enter a link name, set an external URL as target, and click 'Ok' :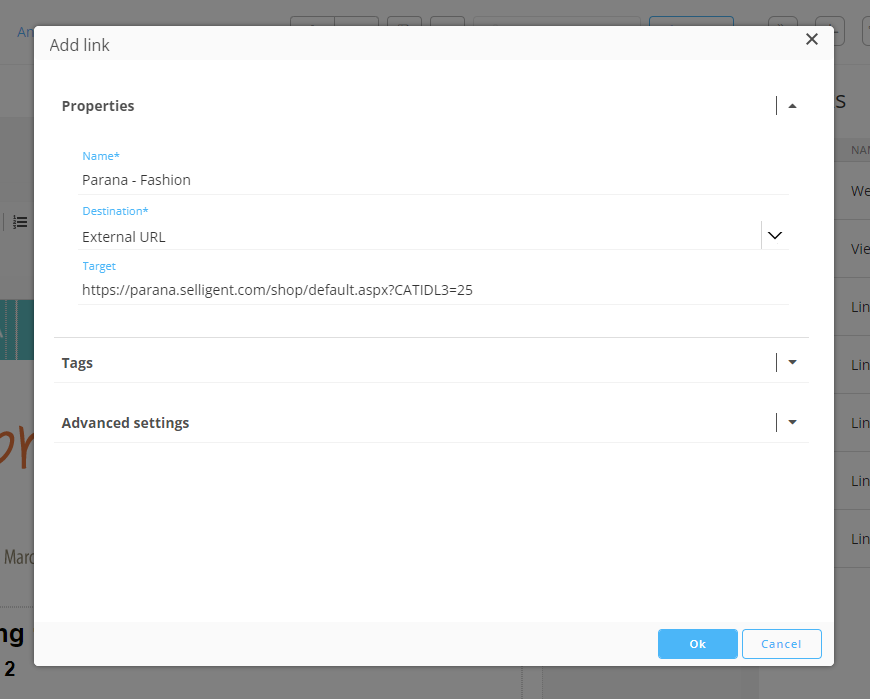
- The 'Link' field value gets updated automatically to your entered link name. Click 'Insert' :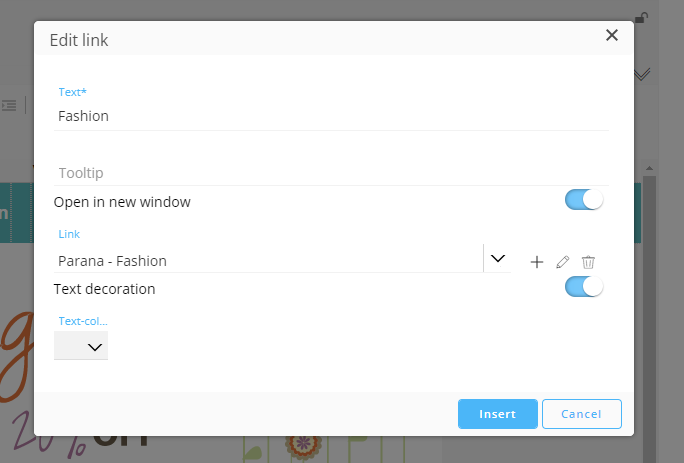
- The correct link is now applied to the 'Fashion' text.
- Apply the same process to the other top navigation items 'Home' and 'Electro' (create new links for each one of them).
- In the 'Links' properties of the email template, you can see that the created links are visible, and being used :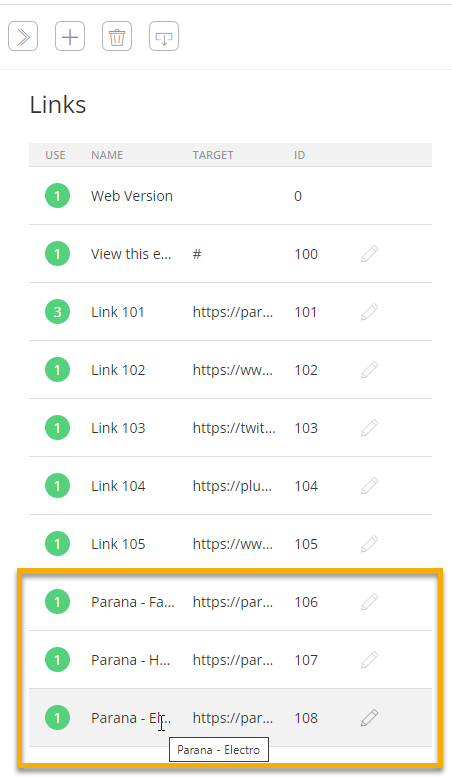
Image link to start shopping
The image in the body of the email template should link to Link 101, which leads to the Parana Shop's home page.
Select the image and click on the tracked link icon :
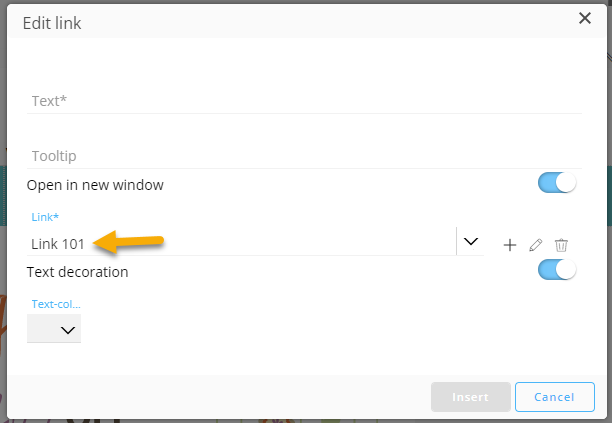
In the pop-up, you can see that it already links to Link 101, which is correct.
If this was not the case, it could be updated here :
Click 'Cancel'.
Body text content and styling
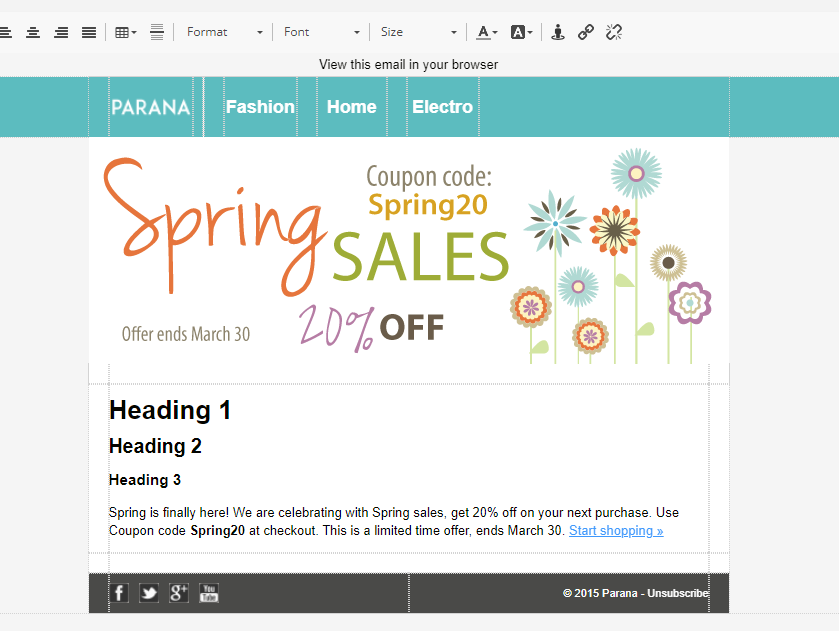
The text in the body looks now like this :
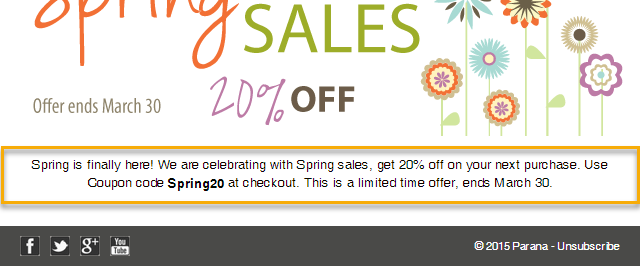
We want it to look like this :
Therefore, we'll need to adapt the following :
-
Remove the heading 1, heading 2 and heading 3 texts, by selecting them and pressing the Delete or Backspace key on the keyboard.
Also remove the 'Start shopping >>' link (as we use the image for that purpose). -
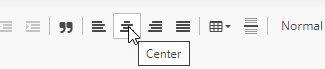
Align the text to the center.
-
Change the text font (to for example Trebuchet).

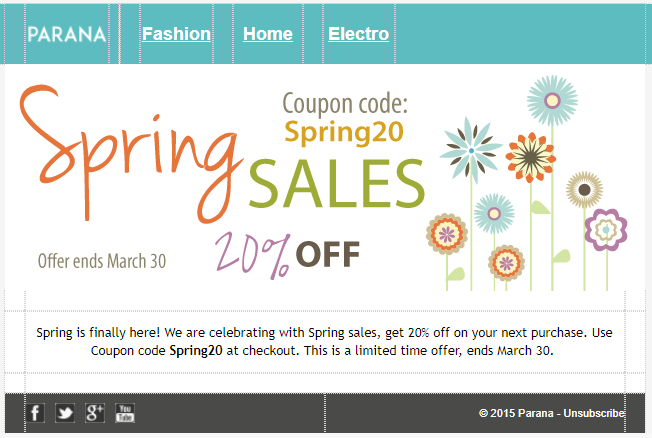
The design now looks like this :
Social media icons in the footer
In the footer, there are 4 social media icons.
We want each of them to link to the appropriate social medium.
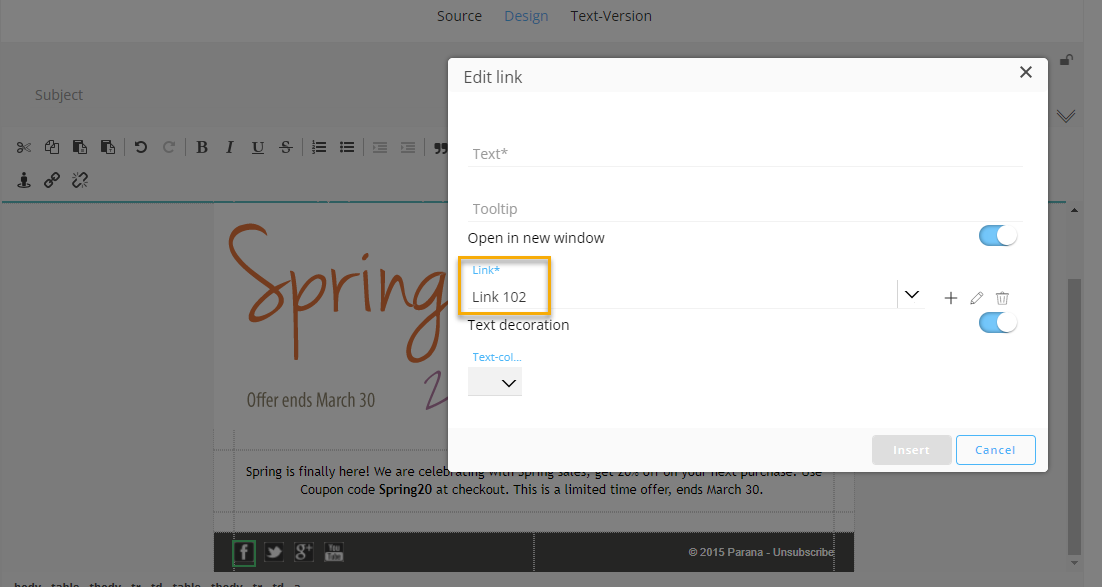
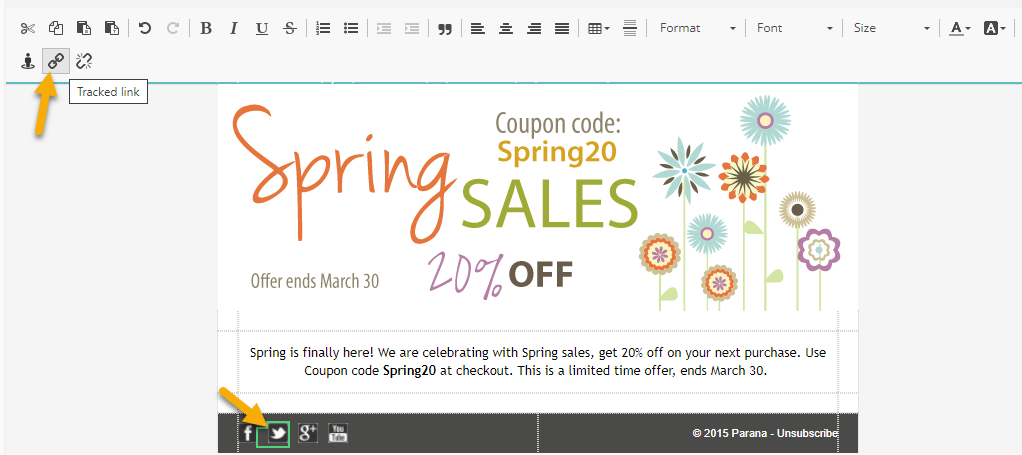
- Facebook — Click on the Facebook icon in the footer and on the 'Tracked link' icon on top.

The icon should link to 'Link 102'.
- 'X' (formerly Twitter) — Click on the 'X' (formerly Twitter) icon in the footer and on the 'Tracked link' icon on top.
The icon should link to 'Link 103'.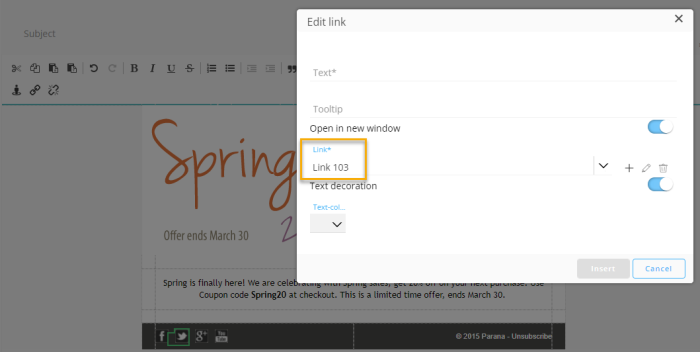
- Google Plus — Click on the Google Plus icon in the footer and on the 'Tracked link' icon on top.
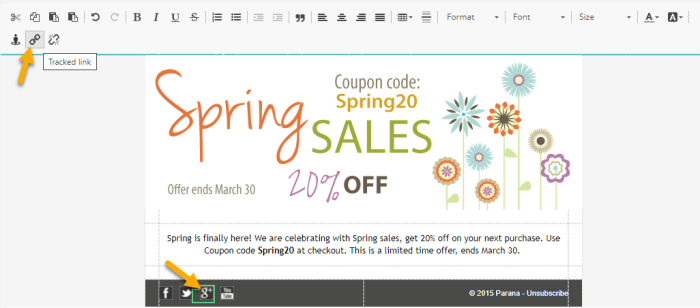
The icon should link to 'Link 104'.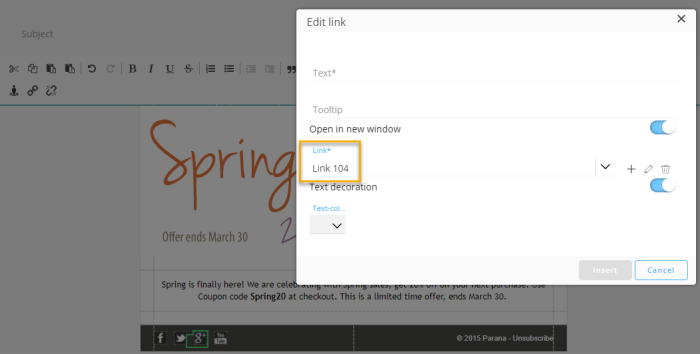
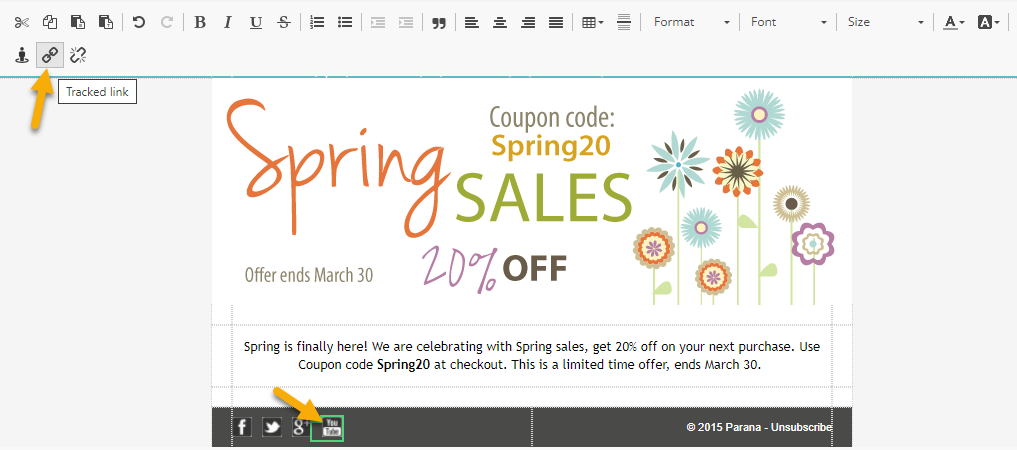
- Youtube — Click on the Youtube icon in the footer and on the 'Tracked link' icon on top.

The icon should link to 'Link 105'.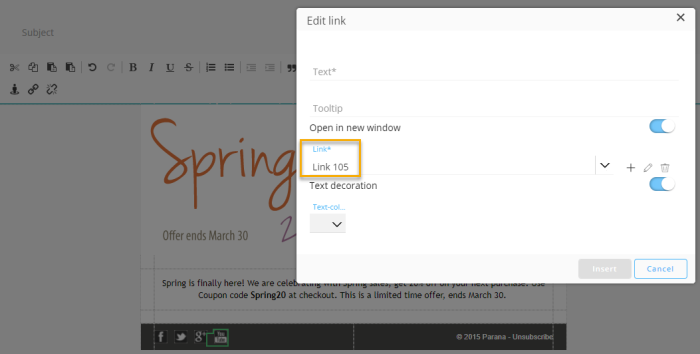


Unsubscribe link
In the email template's footer, at the right there's a text saying 'Unsubscribe'.
We want to link this to an actual link for users to unsubscribe from email communication.
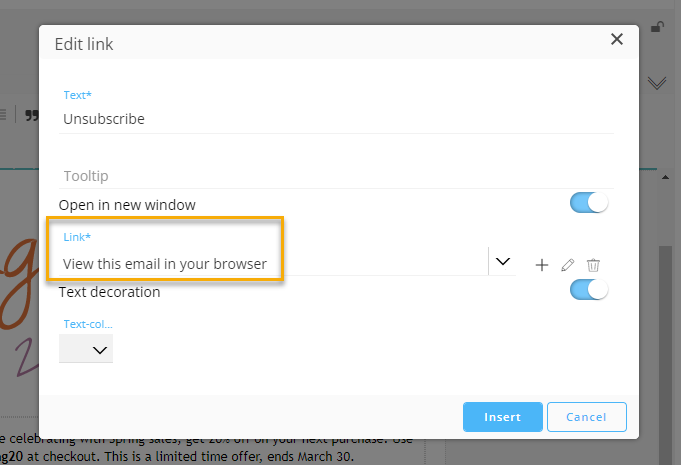
Click on the 'Unsubscribe' text and on the 'Tracked link' icon on top.
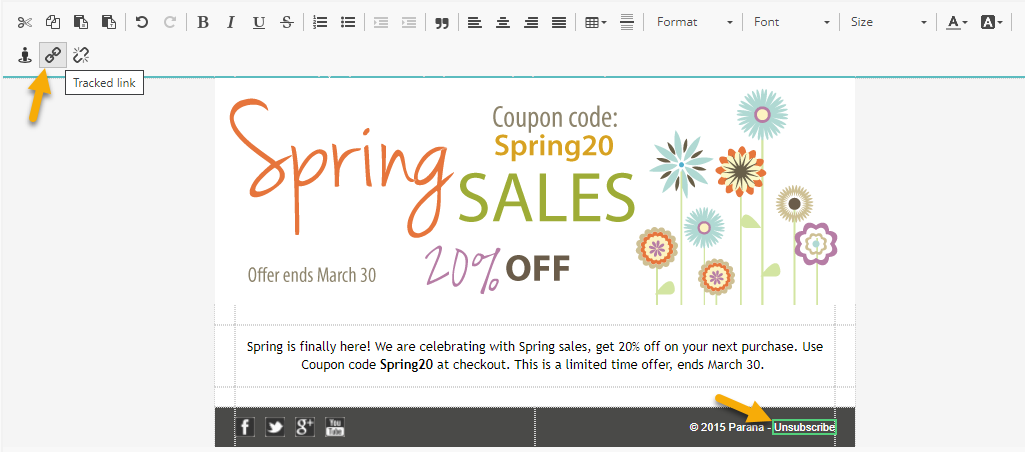
The text links to the 'View this email in your browser' link.
Let's change this, so it links to an unsubscribe link.
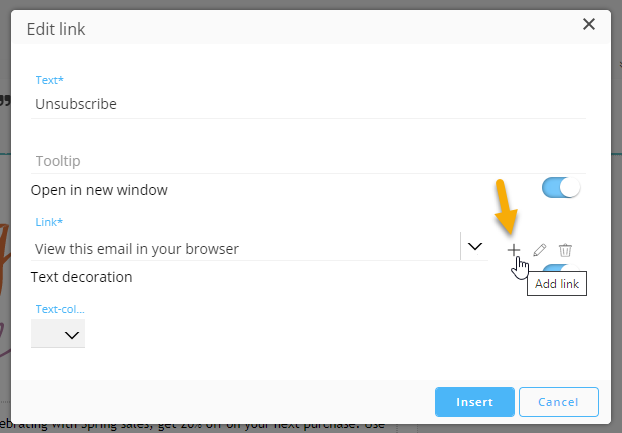
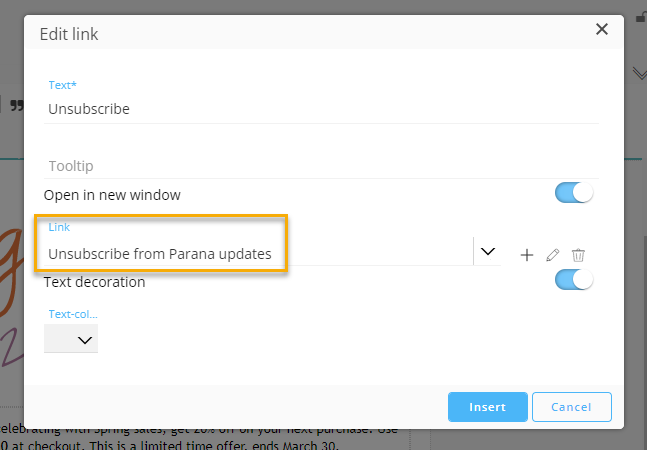
To do this, click on the '+' icon on the right.
In the new 'add link' pop-up that appears :
- enter a name for the link
- as destination let's use 'external URL' and enter a URL in the field underneath
- expand the 'advanced settings' and enable the 'Unsubscribe link' toggle
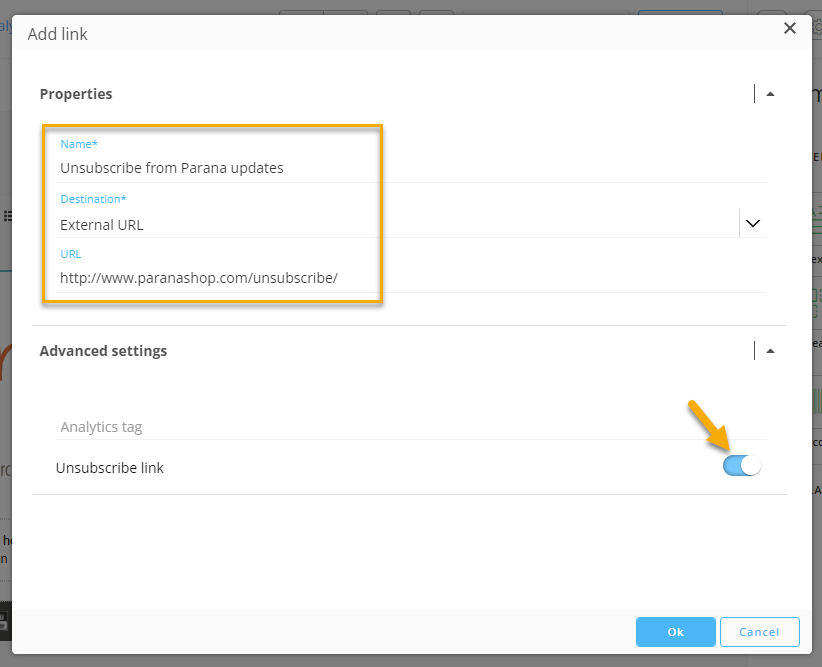
Then click 'Ok'.
The correct unsubscribe link is now used.
Click 'Insert'.
The unsubscribe link is now applied to the unsubscribe text.
Personalize content in Source mode
All content personalization done in Design mode, can also be done in Source mode.
Switch to 'Source' mode (if it's not the active mode yet).
We'll quickly go over the changes that were already done in Design mode, so you have an idea where to find them in Source mode.
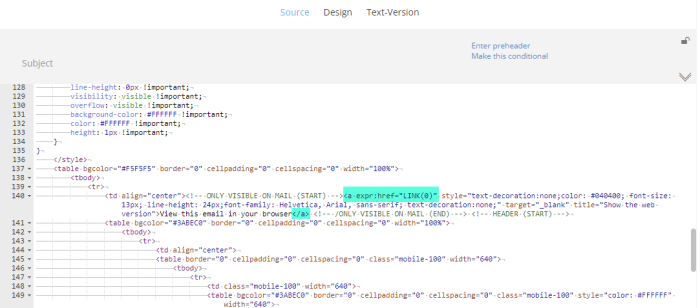
- Web version link — In Source mode, this can be achieved by
setting the correct href link in the <a> tag on the "View this email in your browser" text, which is "LINK(0)".
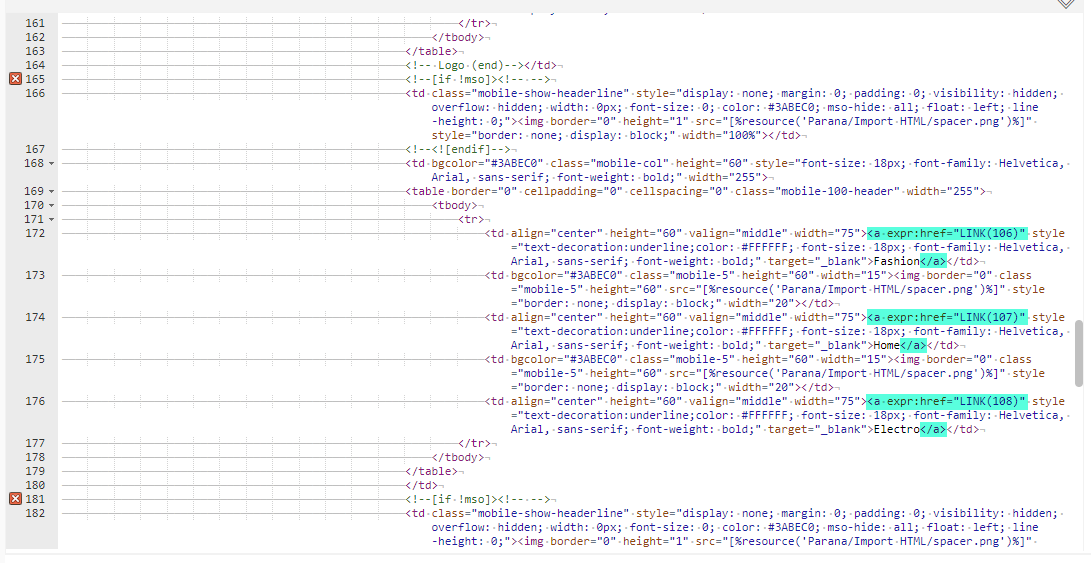
- Top navigation items (Parana, Fashion, Home, Electro) — In Source mode, this can be done by
setting the correct href link in the <a> tags for the different items.
- 'Parana' should be linked to "LINK(101)" :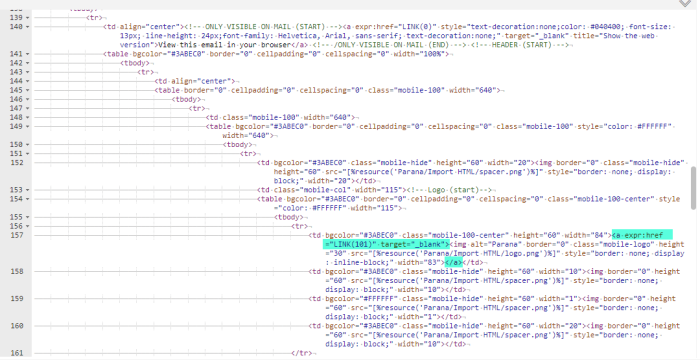
- 'Fashion' should be linked to "LINK(106)", Home to "LINK(107)" and Electro to "LINK(108)" :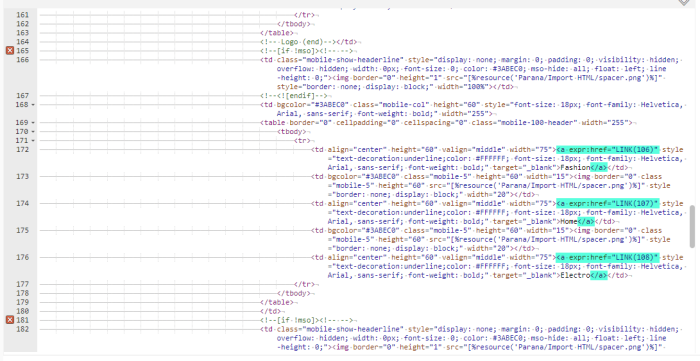
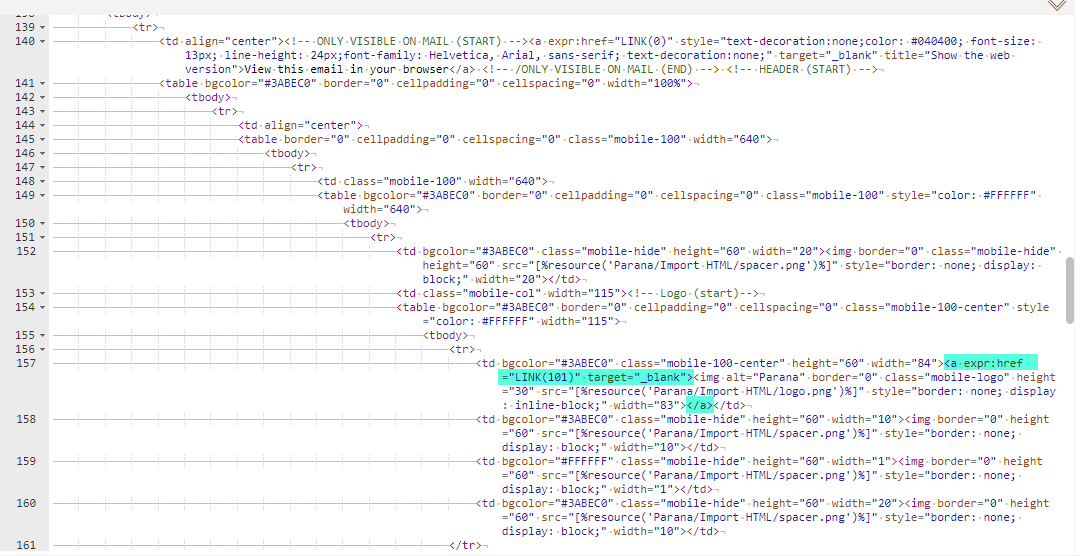
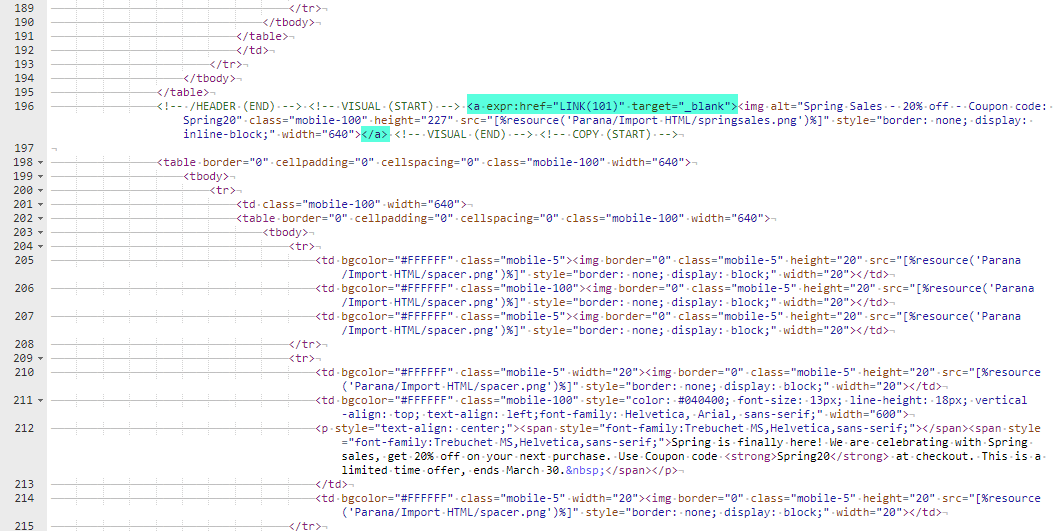
- Image link to start shopping — In Source mode, this can be done by
setting the correct href link, which is "LINK(101)", in the <a> tag for the image item.

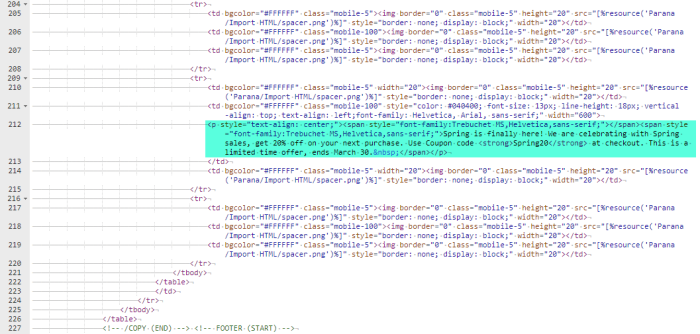
- Body text content and styling ("Spring is finally here!...") — The text content with applied styling can be seen and edited in this paragraph in Source mode.
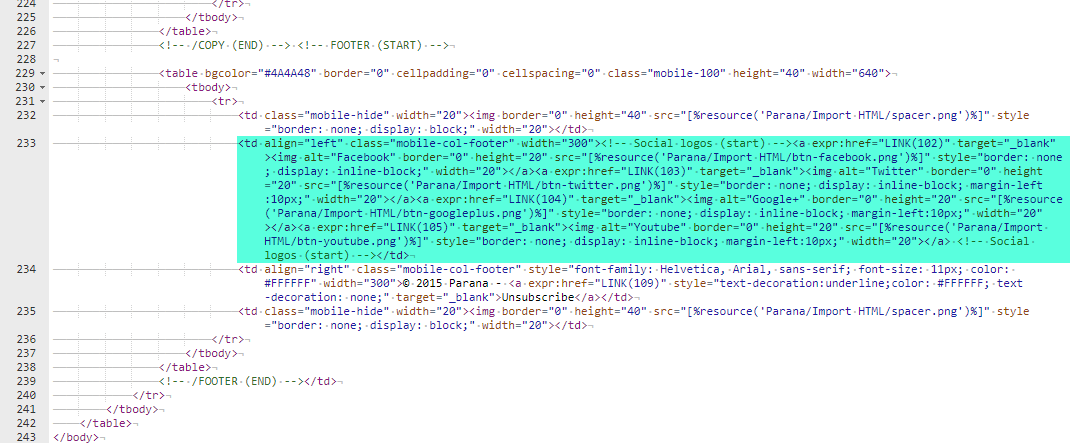
- Social media icons in the footer (Facebook, 'X' (formerly Twitter), etc.) — The icons with links to the corresponding social media are set in the footer :
- Facebook = LINK(102)
- 'X' (formerly Twitter) = LINK(103)
- Google Plus = LINK(104)
- Youtube = LINK(105)
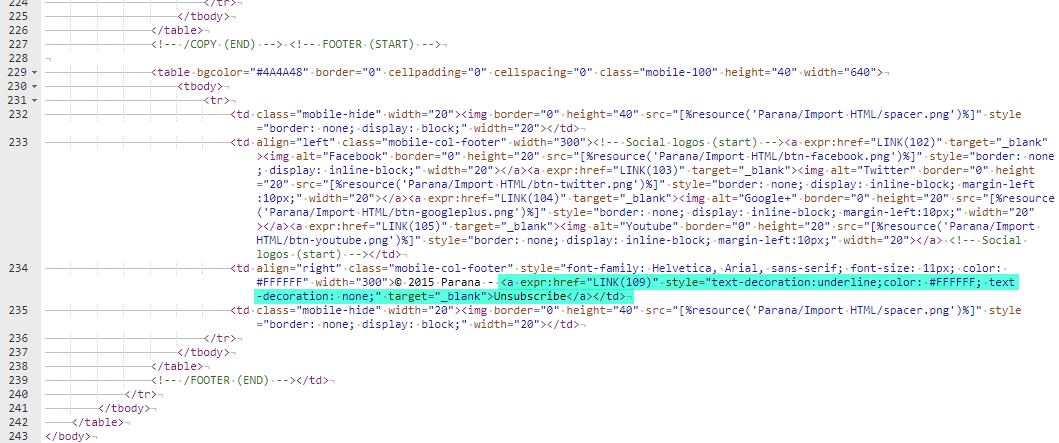
- Unsubscribe link — The unsubscribe link is also located in the footer, just underneath. Its href value is LINK(109), which is the external unsubscribe URL.


Summary of used links
After personalizing the content and adding all the links, this is the overview of all the used links :
The one link marked with a red '0' value can be deleted, as we're no longer using it.
Note: Don't forget to save your email template !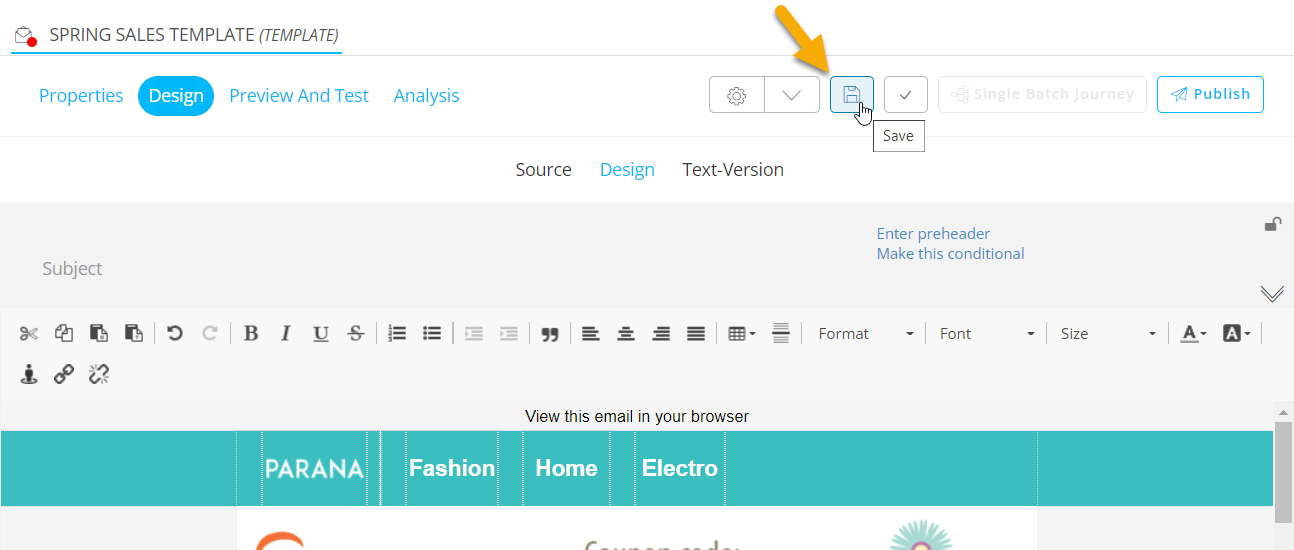
As next step, we'll add the email header.
| STEPS : |
|---|
| 1. Import file |
| 2. Personalize Content |
| 3. Add email header |
| 4. Extract text version |
| 5. Test/Preview the email template |
| 6. Create a basic journey to send out the email template to contacts |
